Simple First Birthday Without Losing the Cute Factor
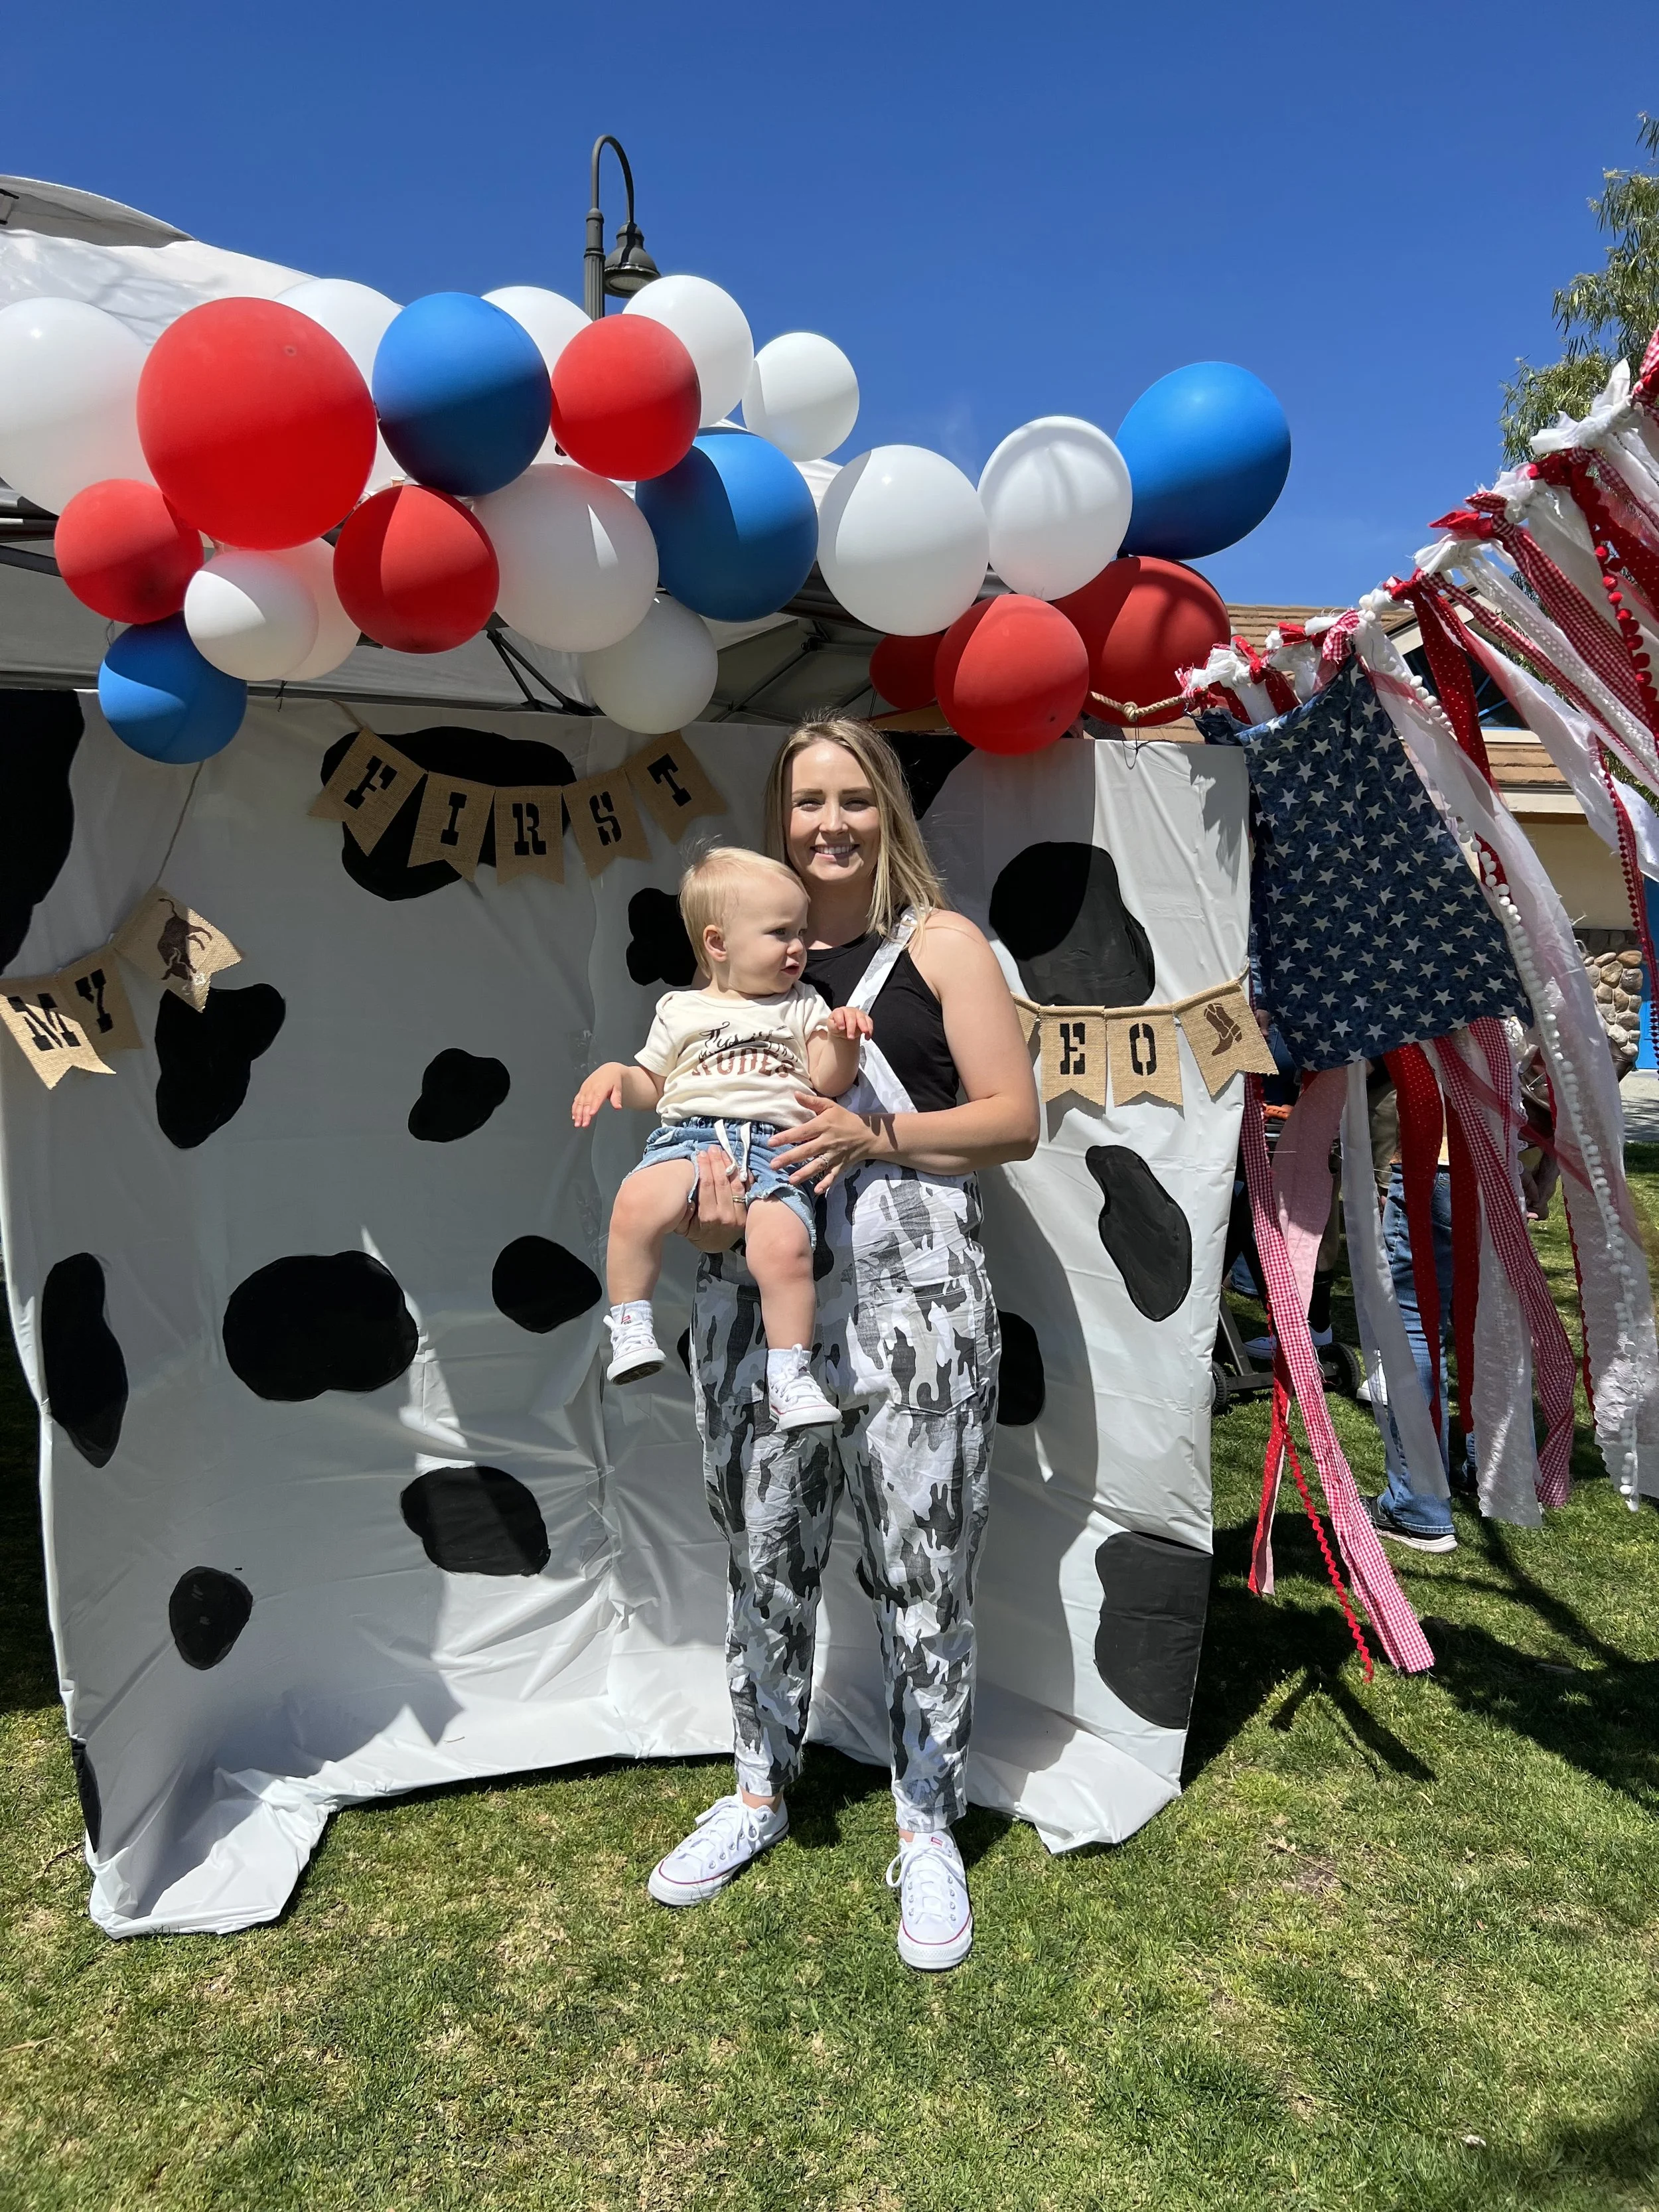
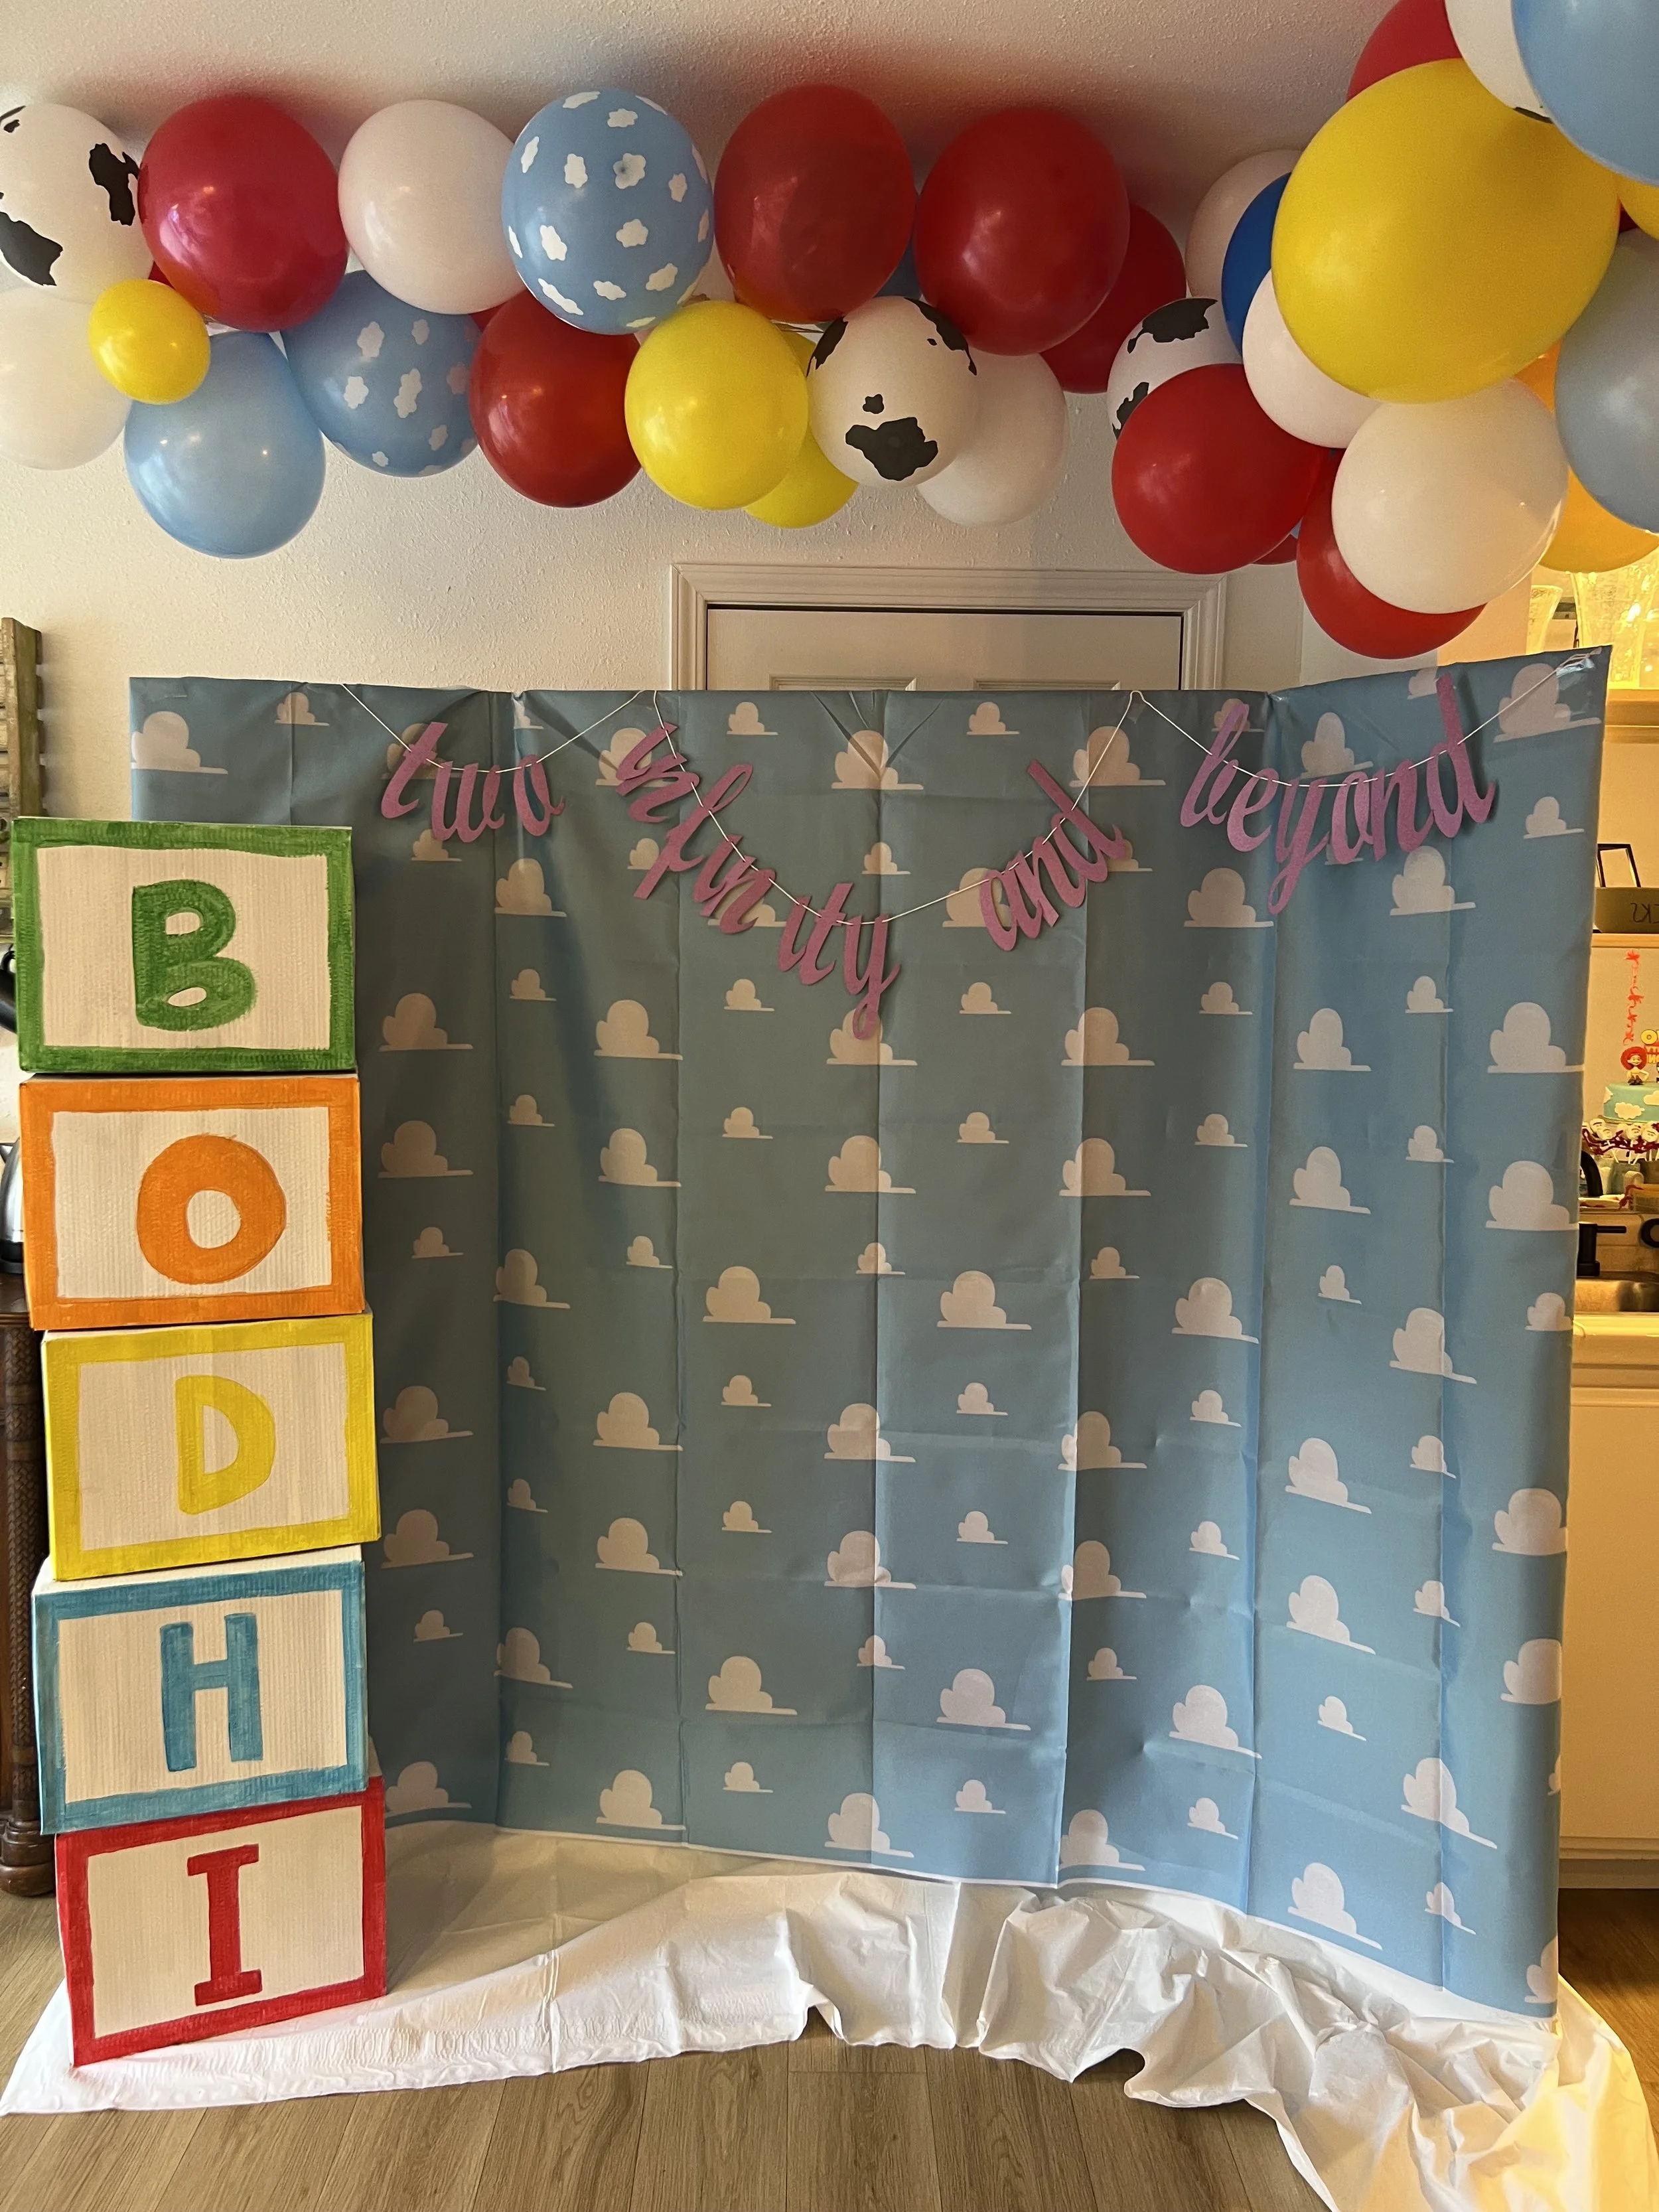
1. Backdrop for photos
Hang an old sheet or canvas for a solid background. I have done Dollar Tree plastic tablecloths wrapped around moving boxes a few times before. Add a bit to the area to fit your theme. Balloons are great to fill this area out as well. Wrapping them together is not as difficult as it may seem. I use this pump to fill my balloons.
Here are some examples:

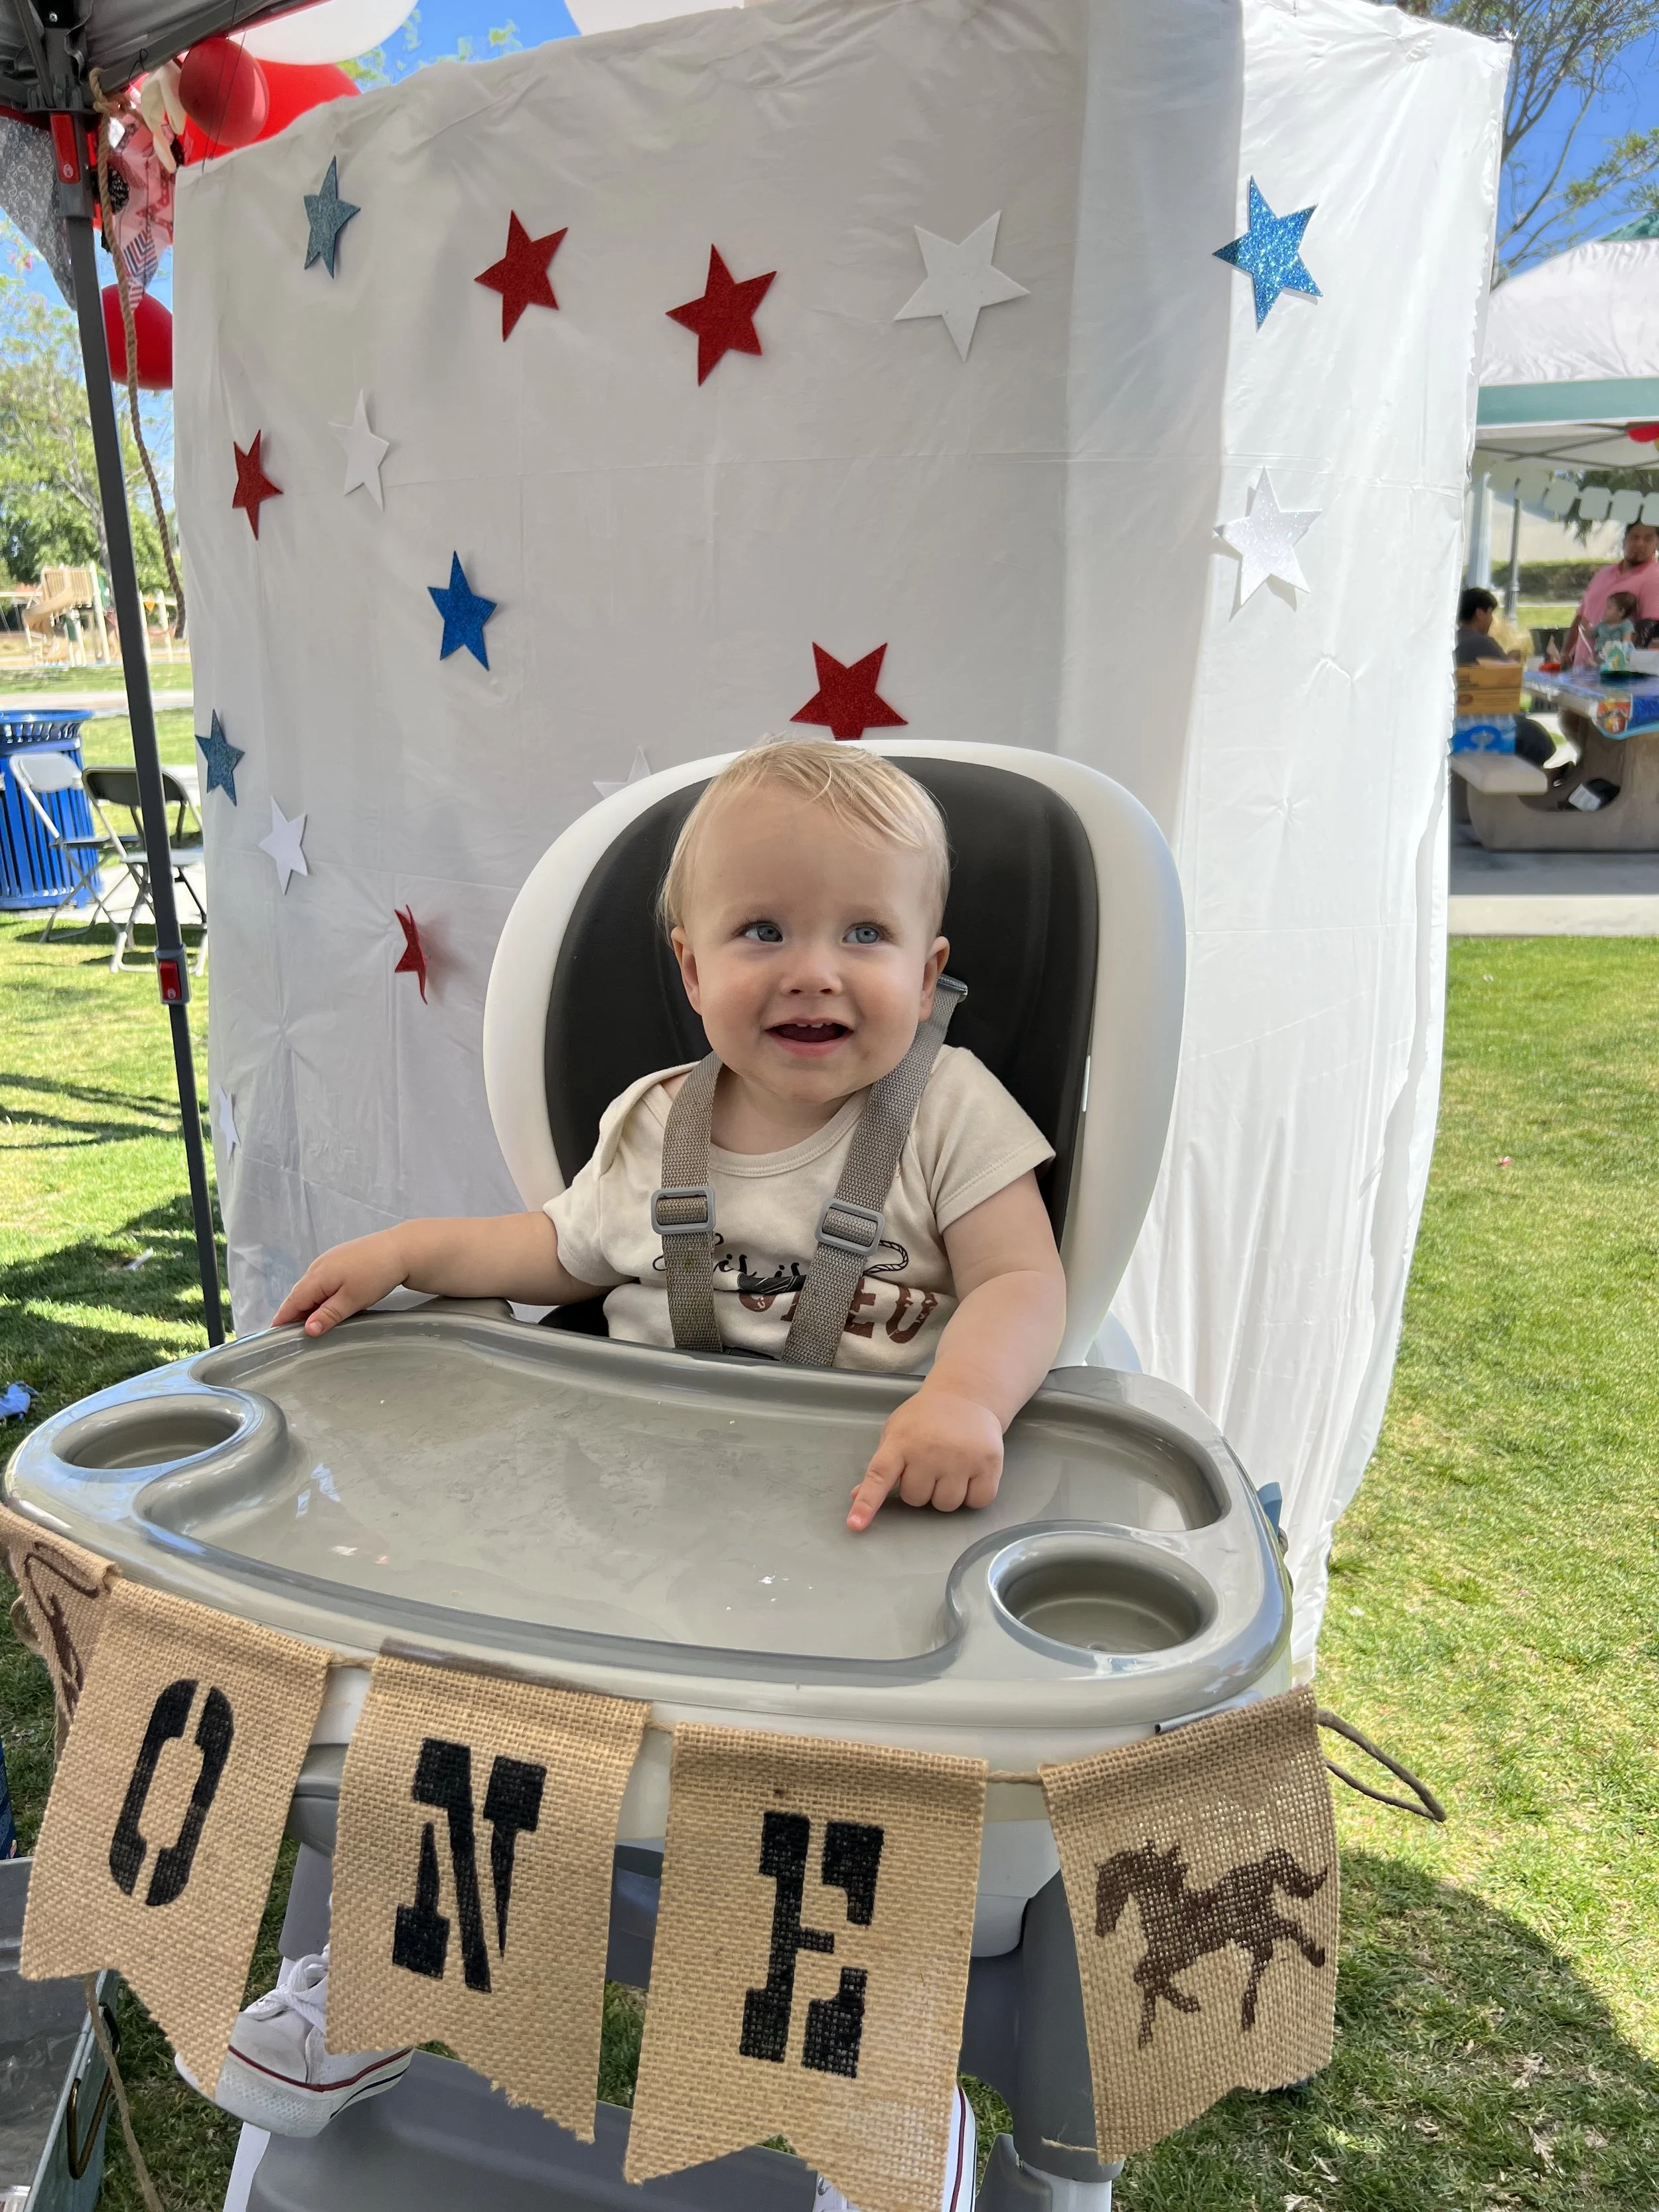
2. Highchair sign
I measured the length of his highchair tray with tweed I already had. I used ribbon and strips of old fabric and tied knots to the string. I made them tight and close together. It is not necessary to use as much material as I did. You can make it cute with less and spread it out.
I painted the letters “O N E” onto burlap and cut to size and shape I liked.


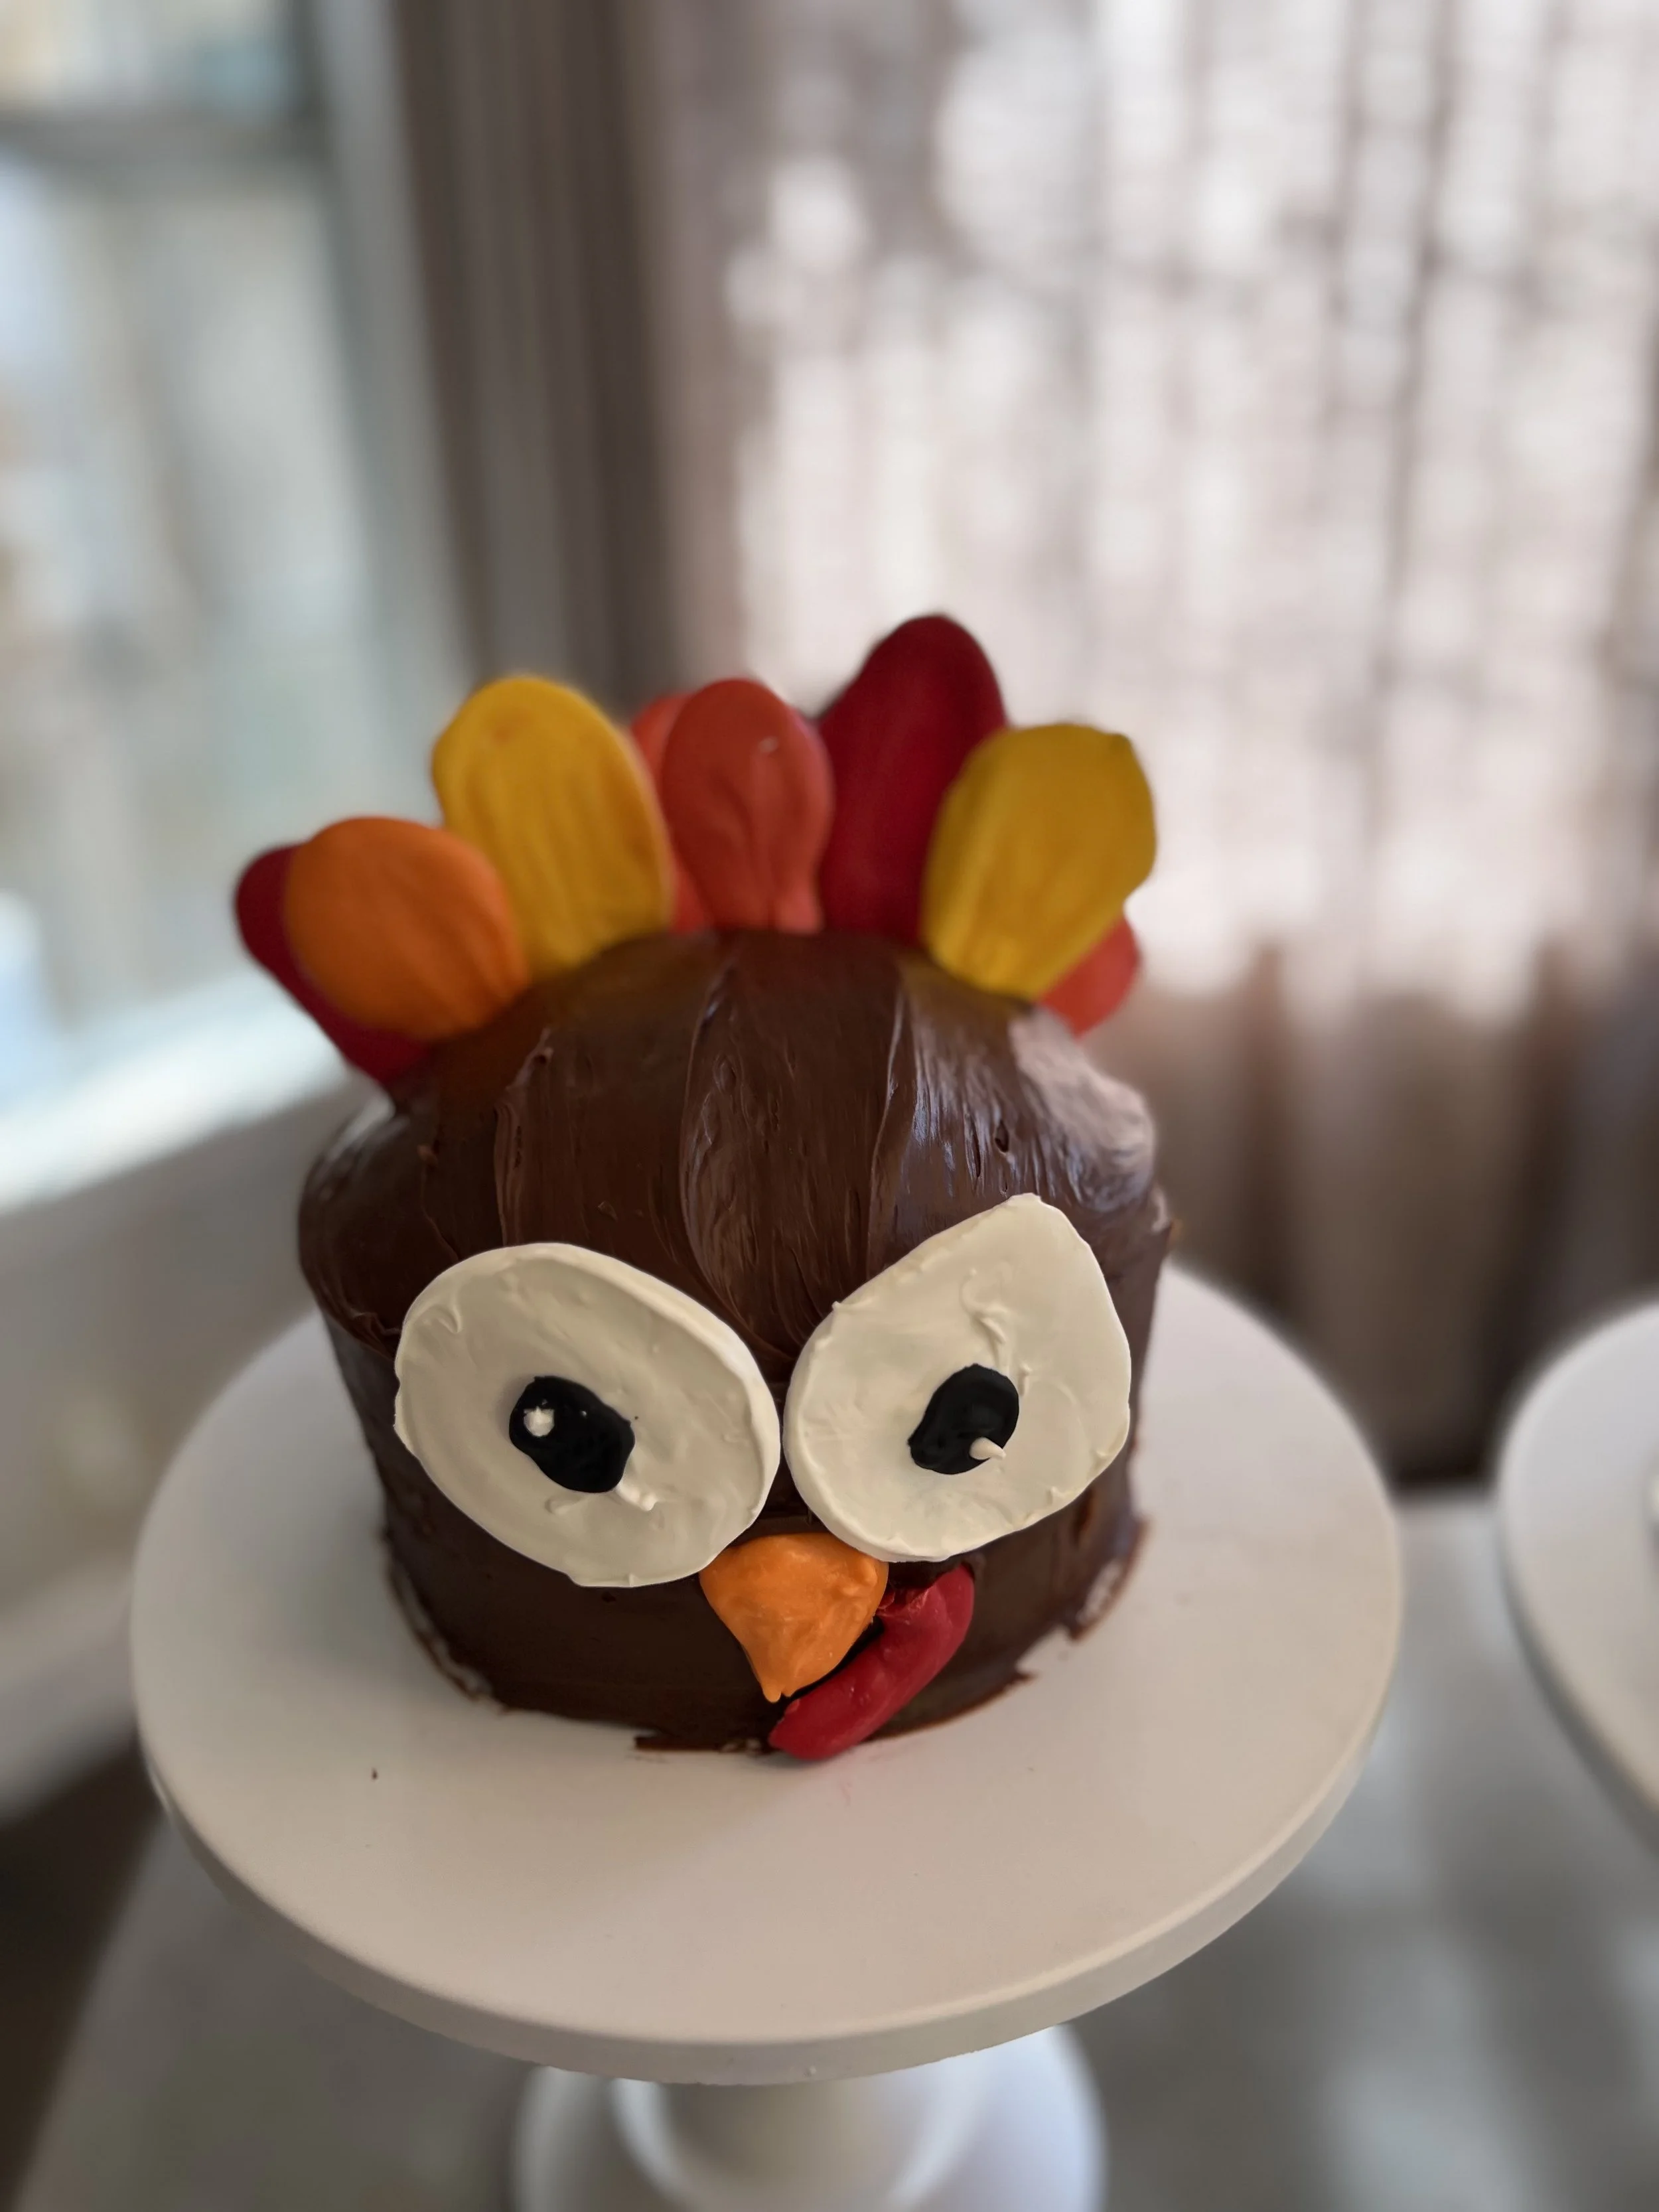
3. Smashcake
I love the idea of a smash cake for babies, but I do not like the idea of spending a lot of money for something that will essentially be thrown out. For my parties, I always buy an inexpensive plain cake from the grocery store and dress it up myself.
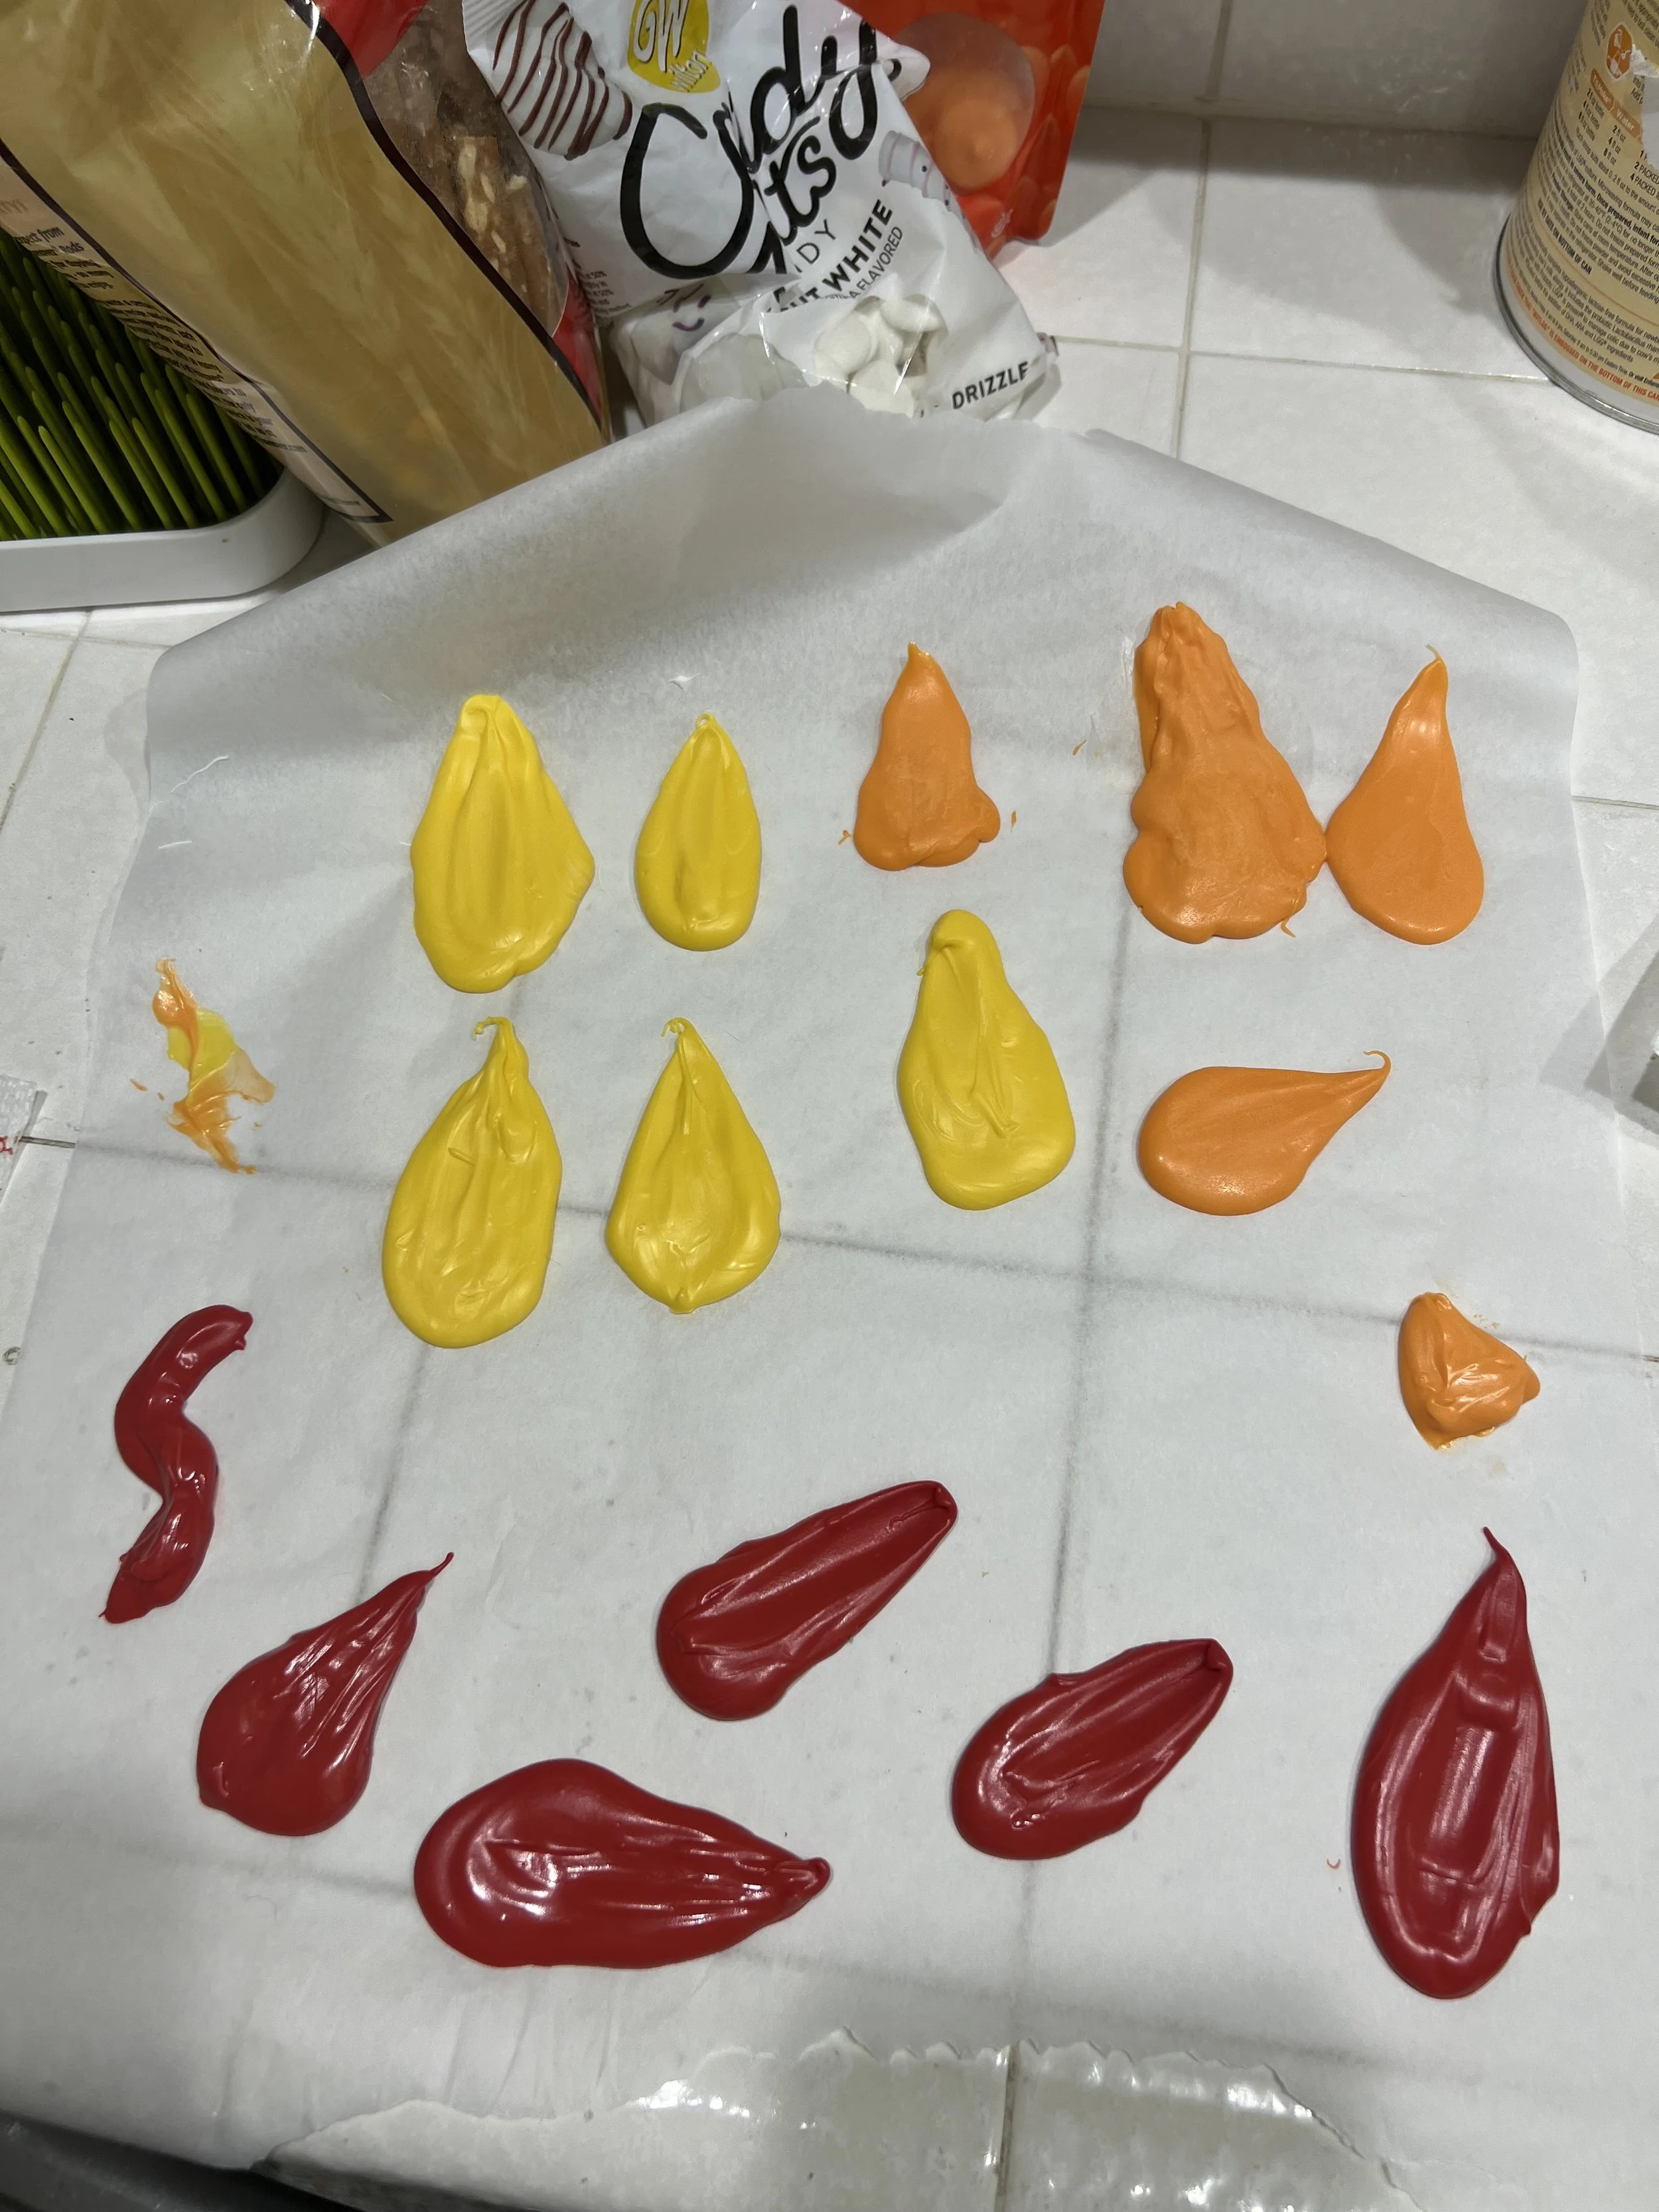
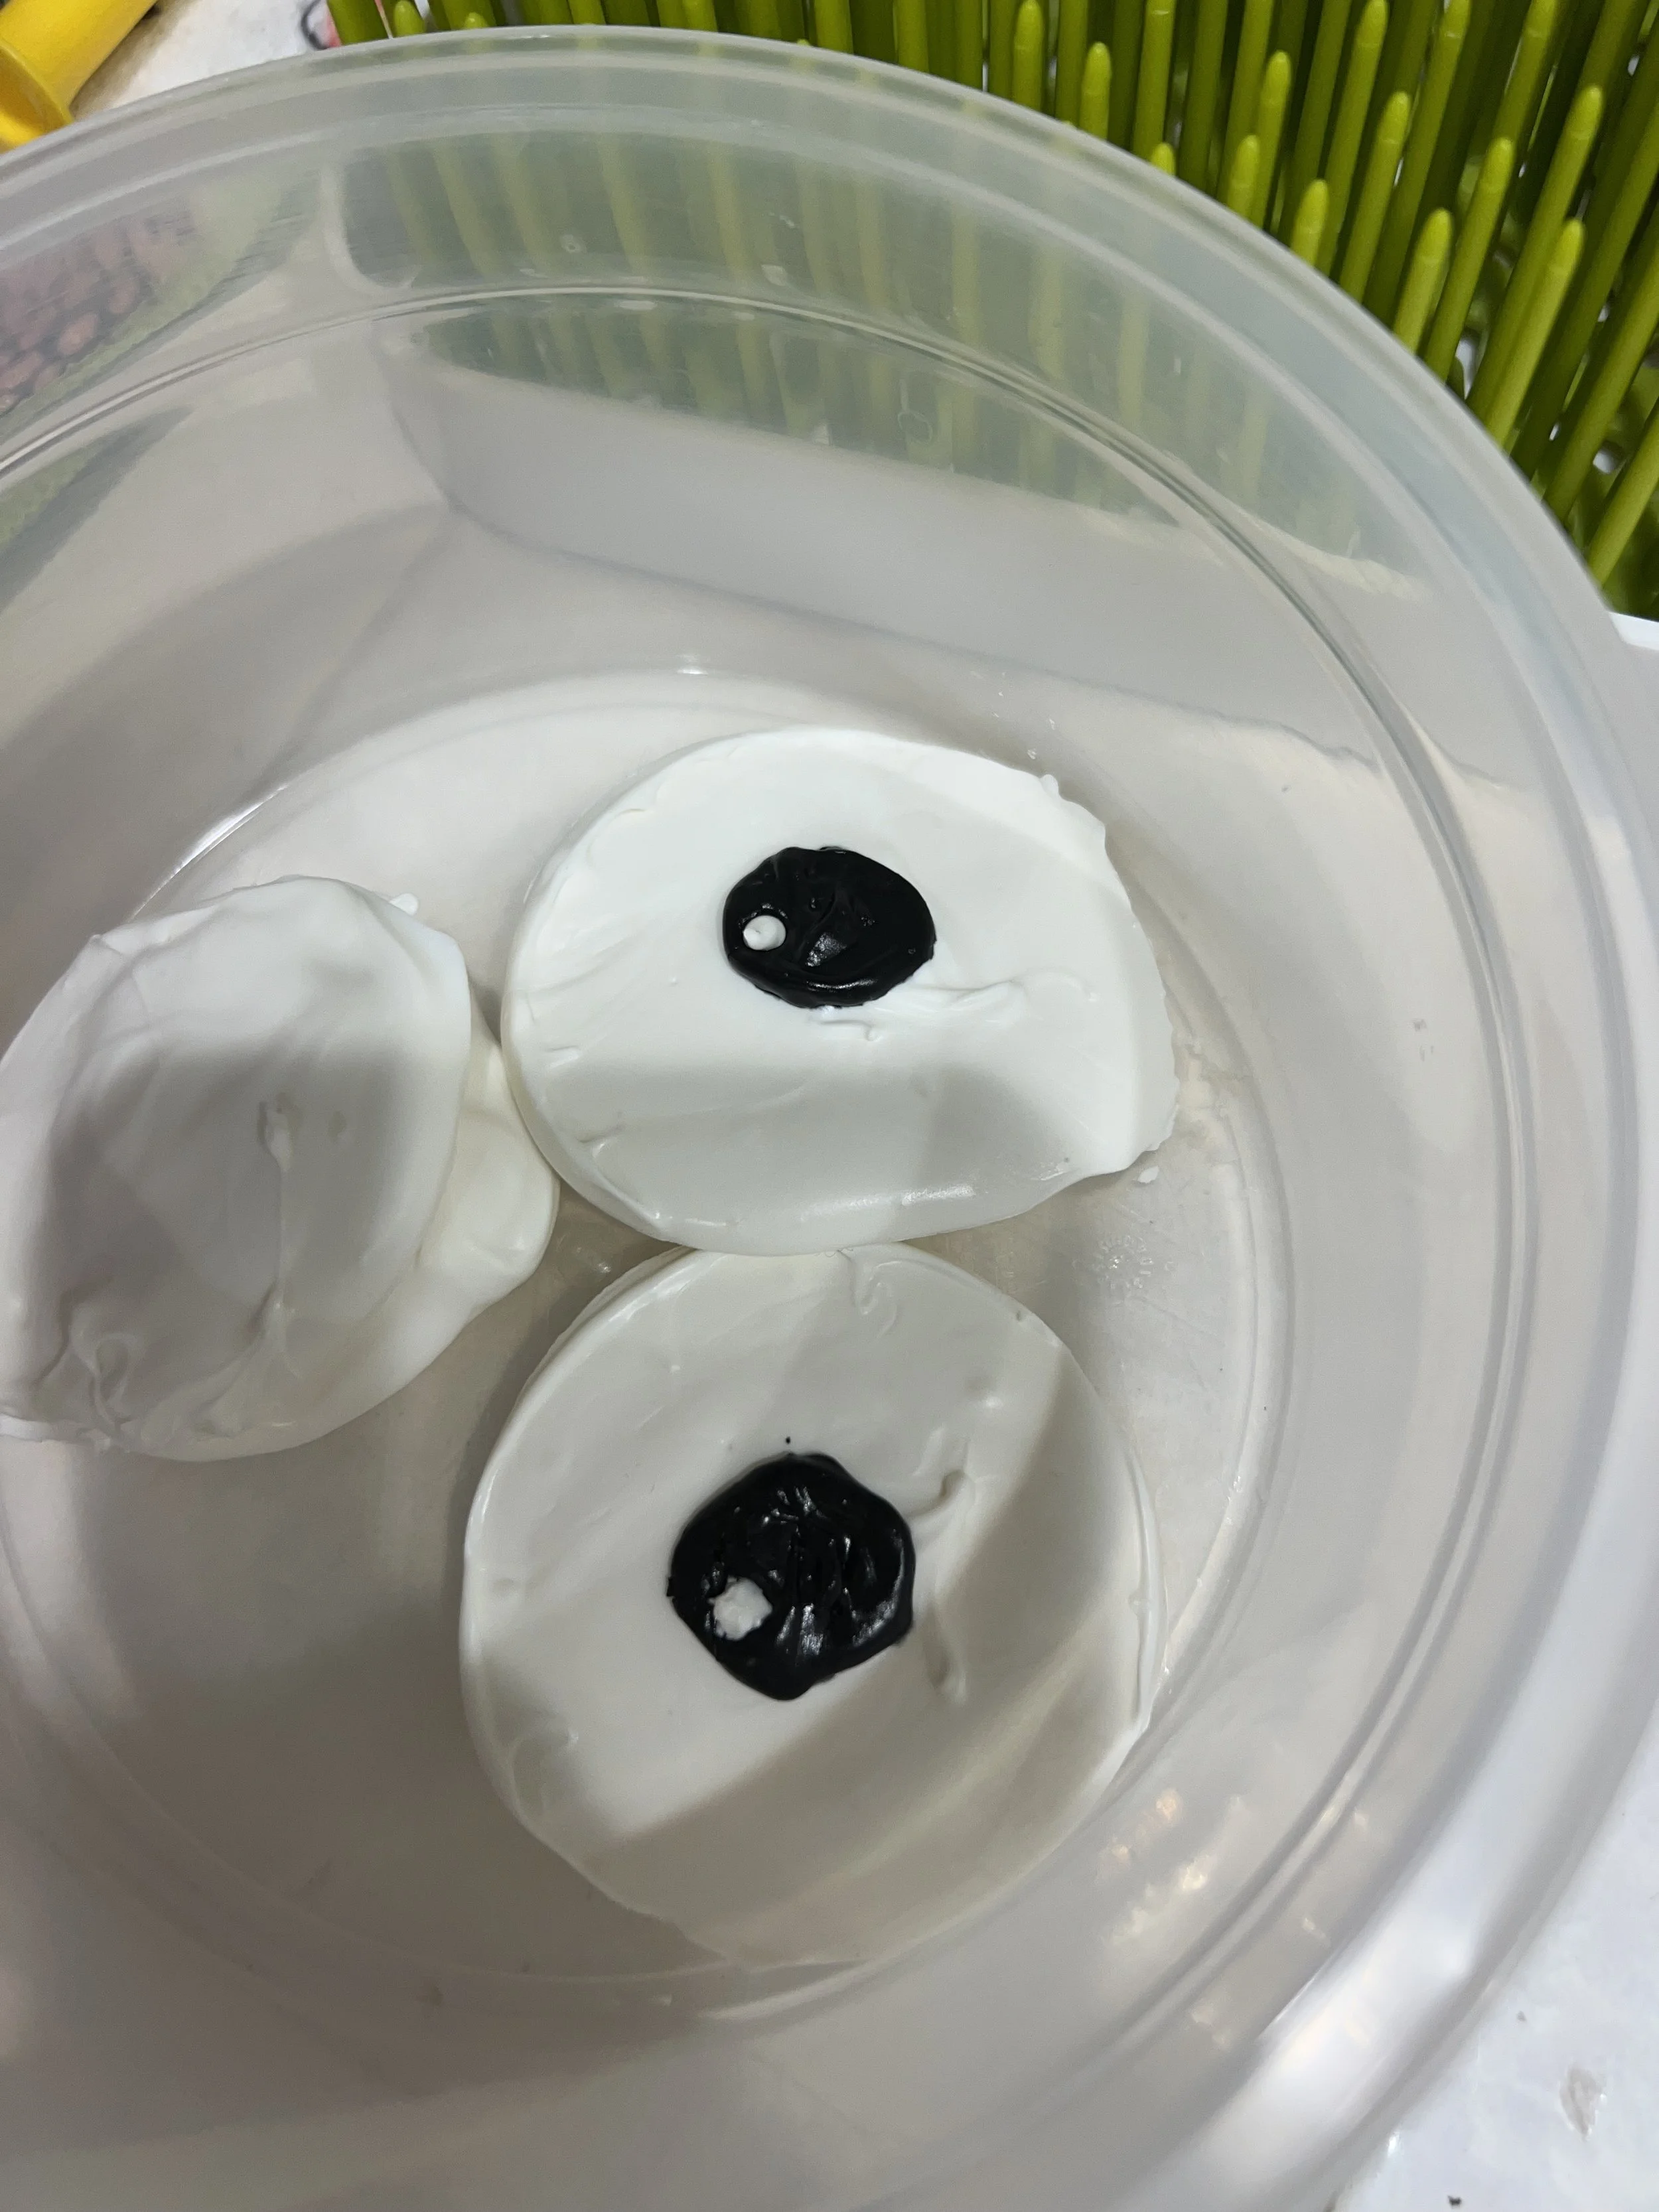
This year I got colored meltable chocolates to make turkey feathers, eyeballs, beak, and gobble for a turkey cake. In the past, I have used fondant to decorate the cake, pictured below.

4. Decor
I was looking on Etsy for a cute “LITTLE TURKEY” banner for the party, along with one of those 12 month picture displays. Both of which would have cost me $30+ with shipping. I was not willing to do that for something that looks homemade.
I combined the ideas to make a “LITTLE TURKEY” sign that also displayed photos. It came out to exactly 12 letters, so I assigned a letter to an age.
It was more time consuming, but turned out cheaper than buying something off of Etsy. I had the card-stock paper, stencils, string\tweed, and hot glue gun to put it together.
You don’t necessarily have to do letters across the top, you can do the number for the month that pertains to the pictures.
Other cheap and simple decor you can do, are streamers and fill your own balloons. Helium tanks can make a lot of balloons, and the tanks don’t go bad. Just be sure the fill your balloons within an hour of the party!


5. Invitation made on Canva
I love the idea of paper invitations to send in the mail, because let’s face it, who doesn’t love getting mail??
The problem I find is each time I host an event, or send Christmas cards, I have to text the person for their address. No one updates when they move anymore, so it becomes a much bigger task than necessary.
So, I started opting to make my own virtual invitation to send my text. This way you know your guest is going to receive it. You can keep track of who you invited and who RSVP’d.
You can use a service to create the invitation for you, or do an e-vite, but those cost an unnecessary amount of money. I just use Canva to make mine.
They have wonderful templates premade for invitations, or start from scratch.
This time around, I created mine from scratch.

All links are 100% secure and will redirect you to Amazon. These are affiliate links, and I do receive a small commission when you purchase. However, this doesn’t change or increase the price of the item for you.